Rafting a river at high water can be an exhilarating adventure. However, high water trips can quickly get out of control. They are best approached with a focus on maximizing safety and minimizing exposure. In this article we discuss what we see as high water along with the best practices for team boating, PPE (personal protective equipment), and prepping crews.
What is High Water Rafting
High water rafting most commonly means rafting a river at a higher flow within the runnable range. The Tuolumne River in California is generally rafted between 1,000 cfs and 10,000 cfs. Most companies consider the river above 5000 cfs to be high water. Rafts run the Cherry Creek section just upstream between 1000 and 2000 cfs. Cherry Creek is considered high water above 1400 or 1500 cfs.
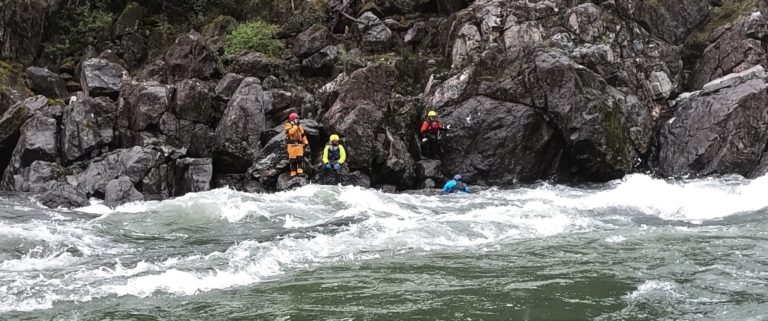
How high a river can be run is mainly influenced by the gradient and width of the river. As the gradient increases and the river narrows the runnable volume of water that can be safely rafted typically decreases. As the water rises the forces within the river increase causing more surgie waves that build and break. Holes become more pronounced and eddies have boils making it challenging to enter and exit where you want. Overall, the river becomes less predictable and therefore more dangerous. At high water it’s easy for groups to get spread out and swimmers to become scattered.
Bank-full
A second factor to look at is when a river is bank full. That means the cobble bars are all covered with water and the river is up to where vegetation grows along the bank. Many rivers become more dangerous when running bank-full. At these levels there tend to be less eddies. Many times the river will be flowing though strainers along the side of the river. The hydraulics become more boilie and surgie making them less predictable. In general it is a bad idea to launch on a river that is bank full.
Is the river going up?
Rivers can come up quickly (and sometimes drop almost as quickly). Be cautious with rivers that are on the rise. I’ve seen rivers rise a foot 30 minutes, taking them from fun highwater to over bankfull strainer filled messes.
What to wear
On high water trips, water is usually colder and splashier. Additional layers are helpful to stay warm while in the raft and in the river. The mantra “dress to swim” applies since swims can be longer with less eddies and pools for recovery. To learn more read our article about swimming whitewater rapids. Most people wear either a drysuit or wetsuit with a paddling jacket. Arguably the most important piece of gear is a high flotation pfd with at least 22 lbs of flotation. These vest will keep your head above the surface more of the time making it easier to breath and self-rescue.
Guides, as always, will want to have a flip line in an easy to access pouch.
Practice, Practice, Practice
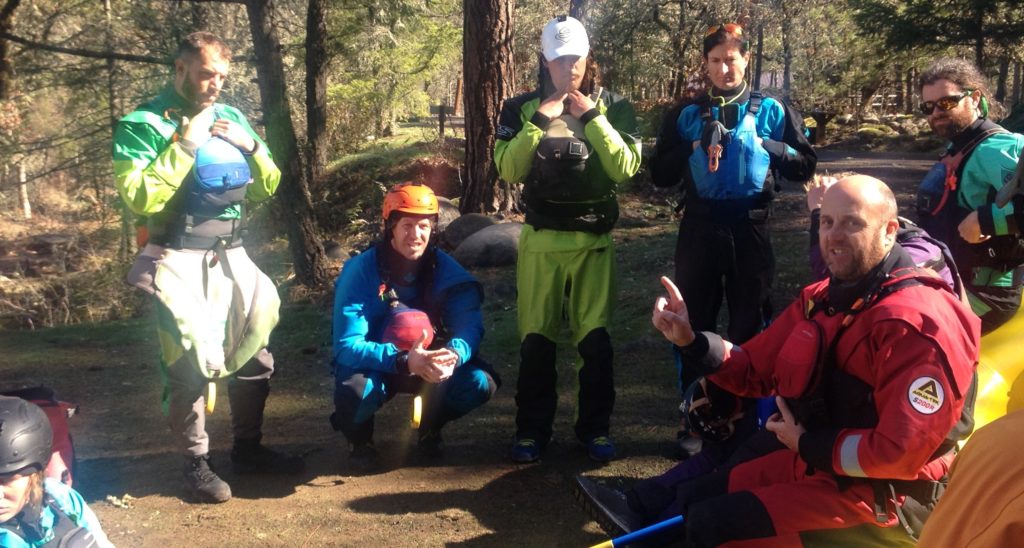
Guides and guest will want to practice swimming and self-rescuing before a high water rafting trip. Ideally guides will have spent some days practicing in the weeks before high water starts. Training includes flipping rafts, swimming rapids, using throw bags, picking up swimmers, using high water navigation techniques (such as the downstream ferry) and using team rafting techniques.
Guests will ideally have a chance to experience being in the water, swimming around, and pulling someone in before tackling big rapids. On a high water trip take a little extra time prepping your crew and practicing commands to be sure they are ready. In particular, practice get downs for huge features and overs before hitting big lateral waves sideways. Continue to practice commands throughout the day.
Prepping Rafts
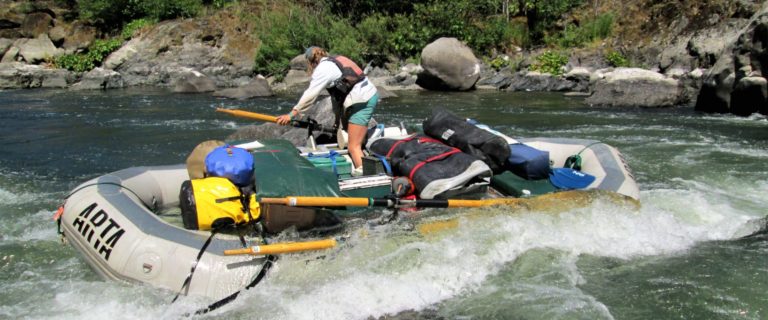
Check that all lines are properly tightened. Perimeter lines should be tight when wet (no sag) but not too tight to grab. Have a flip line on the bottom of each raft. Thwart lines can be helpful for climbing back into an upright raft. Minimize extra stuff lying around in the raft that will interfere with people moving around the raft in case of a “get down” or hyside. Makes sure any gear in the raft is rigged to stay in place incase of a flip. Have at least two extra paddles rigged so that in a flip if all the paddles are lost once the raft is re-righted there is a way to maneuver.
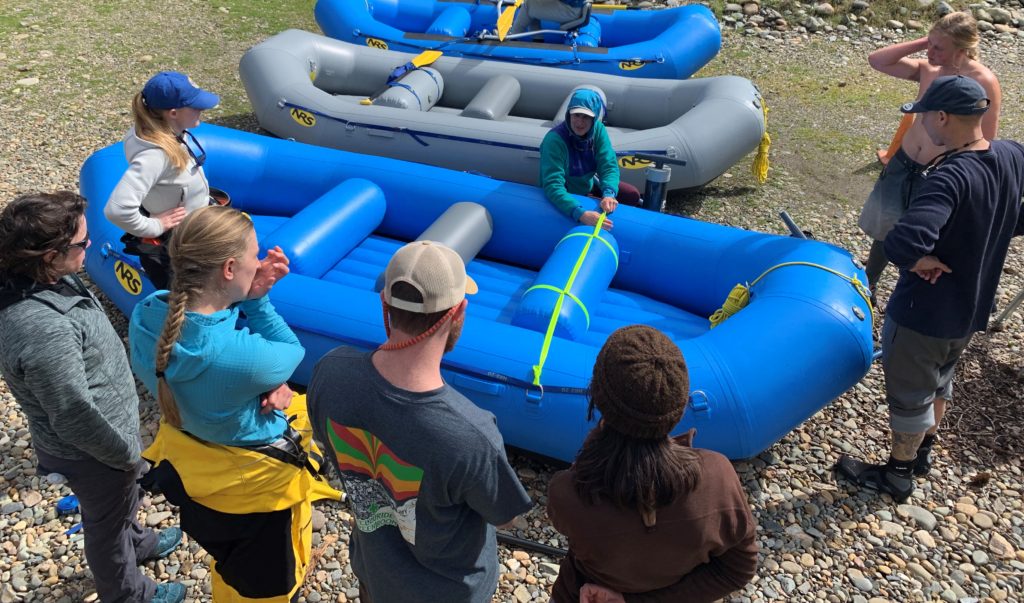
Before Launching
Before launching have a guide meeting to be sure everyone is on the same page regarding logistics, boat order, hazards and how to handle flips and swimmers. During the meeting discuss which rapids to scout and where to pull over. At high water regrouping, catching eddies and pulling over becomes much more challenging.
Boat Spacing
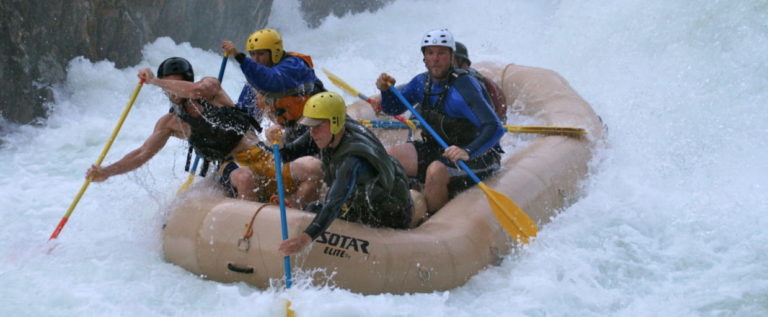
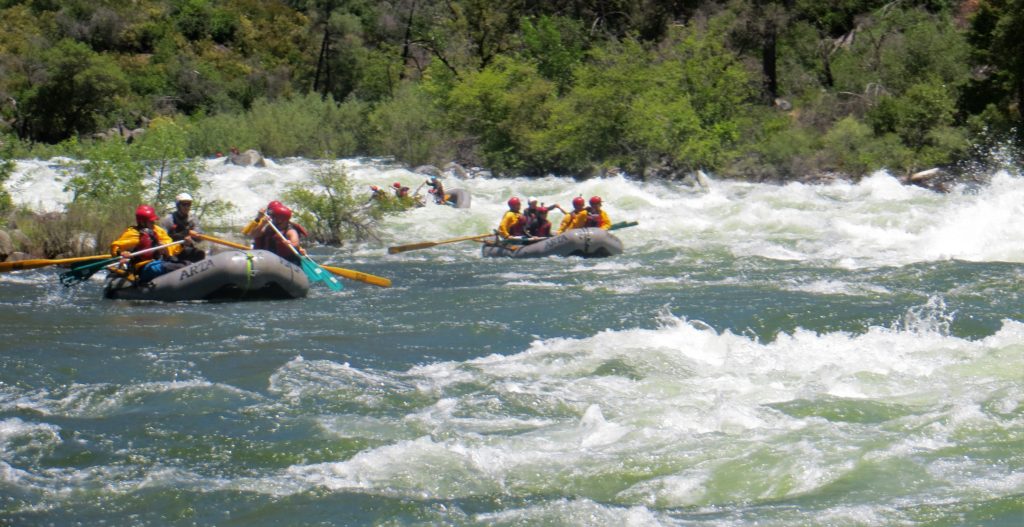
One of the most important components of high water rafting is consistently running tight. The general rule for boat spacing: run as tight as possible where you will not run into the raft in front of you. In order to do this well, rafts must continuously fine tune their spacing with the rafts in front and behind them. It is more challenging to read the river while running tight but running tight provides a stronger safety net to affect a rescue.
Having the right number of rafts makes boat spacing an easier task. My preferred high water team would be 3 or 4 rafts, more than 6 rafts becomes challenging to manage. So companies decide to run less rafts with more people in each raft which has some advantanges in terms of spacing but more people in each raft becomes a problem once a raft flips. Four to 6 paddlers and a guide has been optimal dpening upon the river. Less than 4 people, the raft gets too light and the river tosses them around. More than 6 people, the raft gets hard to navigate and a flip puts many people in the water.
Exiting Eddies
Pulling out of an eddy into the current is a challenging place to maintain spacing. Boats must be lines up tightly in the eddy ready to pull out on after another. This works best if the lead raft sit at the top of the eddy with the rest of the rafts lined up going downstream in the eddy. Before exiting the eddy the lead raft confirms that everyone is ready to go.
My preference is to hold a thumb up in the air and wait until the guide from each raft has their thumb up as well. So we all can see everyone is ready to go. We’ve discussed beforehand to not raise a thumb until all the paddlers are ready and everything is secure in the raft. As soon as all thumbs are up the lead rafts pulls out of the eddy with all the other rafts following out behind one and a time as close as possible. With highwater once rafts exit the eddy they start moving downstream rapidly.
Maintaining Spacing
In order to maintain spacing guides can use some short forward or backward paddle to keep the raft where it needs to be. To slow down a bit it helps to turn your raft sideways to the current or drag an eddy (without getting sucked in) or slower water along the side of the main current.
Avoid long forward paddles particularly in the lead raft. This makes it difficult for everyone to keep up and maintain spacing. Guides in a good team of rafts keep their heads on a swivel. They know where all the rafts are and continually make micro-adjustments to maintain proper spacing.
#2 Raft = Most Important
While the best navigator typically runs in the lead raft, the hardest and most import job is running number two. The second raft has to run particularly close since if the lead raft flips it is easy for the swimmers to be swept downstream. In this case the second raft would need to pass the lead raft to chase down swimmers. While a non-lead raft flip would have at least one downstream raft already optimally positioned to rescue swimmers traveling faster than the flipped raft. Safety catarafts have decreased the pressure on the lead and second rafts by only having one person in the lead boat.
Entering Eddies
When entering eddies in general it is best to use a downstream ferry while entering at the top of the eddy where the eddy fence is more defined. Try to enter the eddy in a way that leaves space for everyone behind you to easily enter while also being in position to later exit after the raft ahead of you. Many times it is easier to grab some slow water rather than catch an eddy and force the whole trip to regroup.
Sometimes with high water eddies it is necessary to pull in at the bottom of the eddy if trying to get to shore because the current at the top of the eddy is too strong to pull through to get to shore. This is commonly seen on the Grand Canyon.
The general rule for boat spacing: run as tight as possible where you will not run into the raft in front of you.
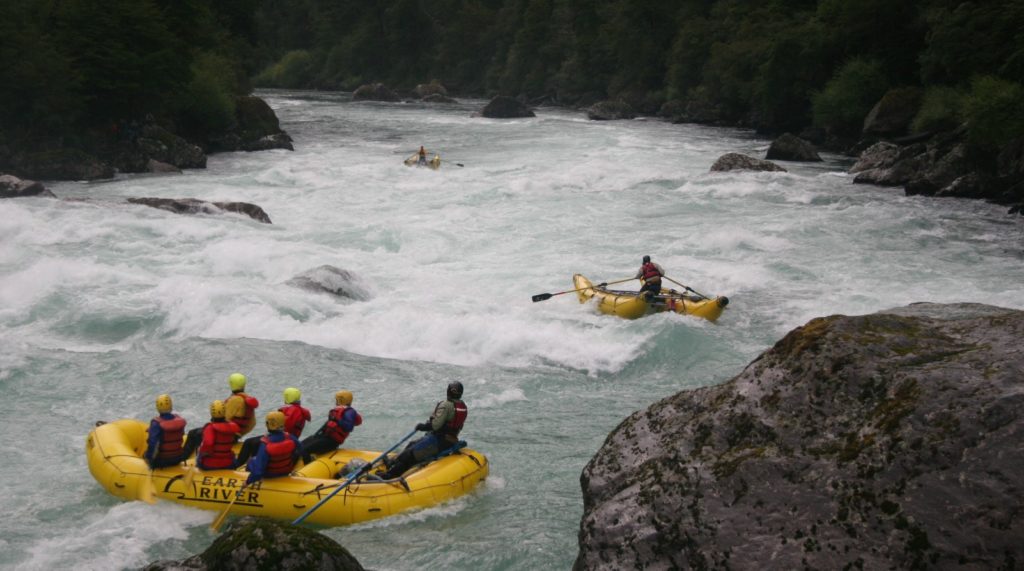
Safety Catarafts/Safety Rafts
While it is still important to have a strong lead and number 2 raft, a safety cataraft decreases the exposure and provides an excellent rescue platform. Typically if a raft flips the safety cataraft acts as a downstream safety, allowing the rafts to rescue swimmers and help rescue the raft. If a swimmer slips through the rafts the cataraft is there downstream ready to rescue.
To be a good safety catarafter, a guide must know a run well so they can keep their focus on the raft and people behind them while glancing downstream in class III and IV water to make sure they are in the right spot. If a catarafter has to focus on getting their raft through those rapids they are not as skilled as would be ideal.
Safety Catarafts versus Safety Kayakers
As a swimmer would you rather have a kayaker there to help you or a cataraft. Clearly a cataraft would be nicer since you could climb out of the river on the cataraft. A rescuer would be way more helpful saving two swimmers with a cataraft than a kayak. Yes, kayaks would be better for chasing down a swimmer that gets ahead of the group but I would still rather have a safety cataraft downstream of me then a safety kayaker. While some people suggest both a safety kayaker and safety cataraft, for most cases I would prefer two safety catarafts. A safety catarafts can even pick up people and at the same time corral a raft into an eddy.
Rescues
Highwater rescues generally take place mid-river because it is more efficient and effective. Rafters can swim to a raft much more quickly than to shore. Getting an upside down raft to shore becomes less challenging once flipped right-side up.
Highwater Rafting Techniques
At highwater, using dramatic angles (in general laterally or downstream) when possible allows rafts to cover ground quickly to avoid large features or hit them with momentum. This means getting sideways in the troughs of waves. At the same time, be cautious of waves as they will surge many times and break irregularly. If you want to hit waves, aim to hit the corners at an angle.
Backing off waves (particularly lateral waves) can rapidly move a raft across the river. Using get downs regularly around boils will minimize swimmers.
Final Thoughts on Rafting High Water
Highwater rafting trips work best when the guides all know each other and the run well. Everyone needs to be fit, properly equipped and on the same page. Don’t forget the saying “Wimp to wimp another day!” If everything is looking right, don’t go. There will be another opportunity.